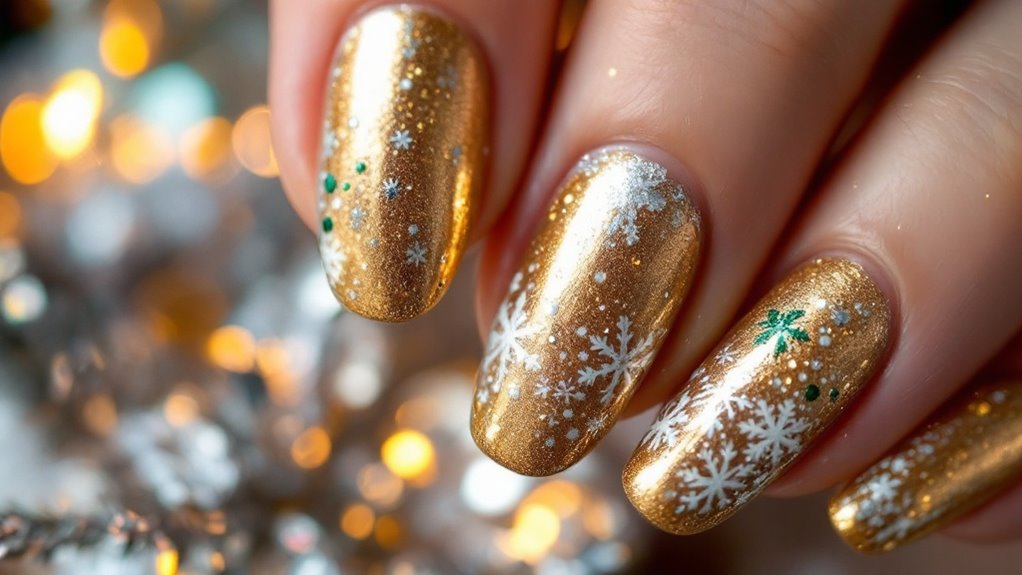
For dazzling Christmas nails, you can’t go wrong with glitter and gold designs! Start with a classic combo of deep red or black as your base and add sparkling gold tips or fine glitter for a festive touch. Try a whimsical ombre effect, blending rich colors like emerald green fading to gold. Or go for charming snowflake designs on icy blue backgrounds, sprinkled with fine glitter. A chic sparkling French manicure with gold tips or vibrant Christmas trees with ornament accents can also elevate your festive style. Curious about more fabulous nail art ideas? There’s plenty more waiting for you!
Key Takeaways
- Use a deep red or black base for a classic glitter and gold combo with fine glitter tips for a festive look.
- Incorporate gold foil on nail designs for a luxurious touch, layering with gold polish for opulence.
- Experiment with sparkling ombre effects using gradients of red to gold or green to icy silver.
- Add festive touches like rhinestones or metallic leaf accents to enhance the glitter and gold theme.
- Seal your designs with a top coat for durability while ensuring proper nail prep for a lasting finish.
Classic Glitter and Gold Combo
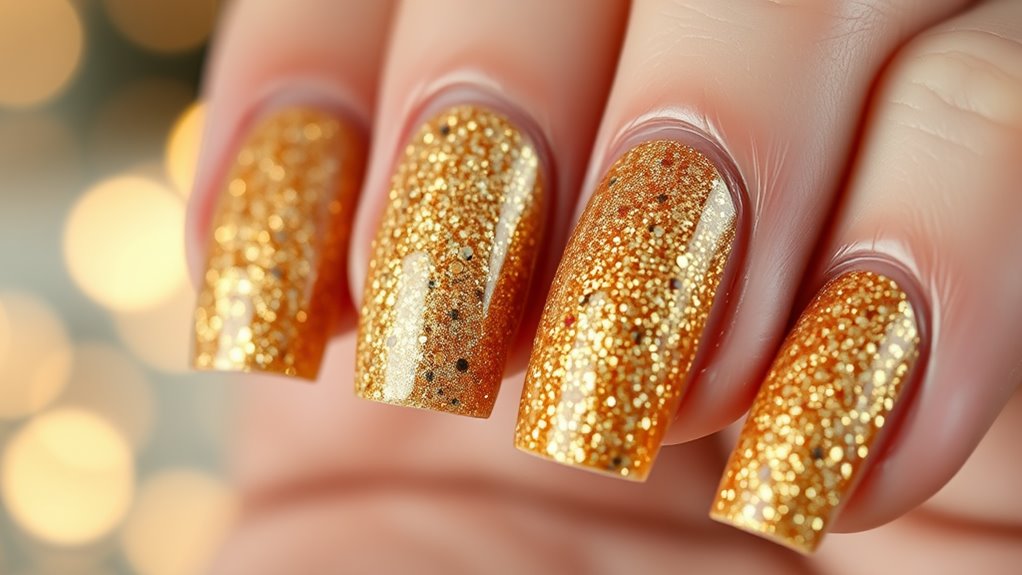
When it comes to festive nail art, the allure of a classic glitter and gold combo never fades. This timeless look instantly elevates your holiday spirit, turning even the simplest manicure into a showstopper. Imagine this: you’ve got a stunning base color—perhaps a deep red or a chic black—just waiting to be enhanced by the sparkle of glitter and the elegance of gold tips.
To achieve the perfect glitter application, start by applying a thin layer of a clear or matching nail polish as a base coat. This creates a smooth foundation and helps the glitter adhere better. Once that’s dry, carefully sprinkle your favorite fine glitter over your nails, focusing on the tips for a dipped effect. You can also use a brush to apply loose glitter if you want a more controlled look.
Now, let’s talk gold tips. Using a gold nail polish, gently swipe the brush across the tips of your nails, creating a dazzling contrast against the glitter base. Don’t worry if it’s not perfect; the imperfections add to the charm of this festive design. If you want to go the extra mile, consider adding a top coat to seal everything in, ensuring your masterpiece glistens throughout the holiday celebrations.
With this classic glitter and gold combo, your nails will surely catch everyone’s eye at every gathering. So, embrace the sparkle, and let your fingertips shine!
Festive Ombre Nail Art
Get ready to elevate your holiday style with festive ombre nail art that blends colors like a winter sunset. You’ll want to explore dazzling combinations that scream Christmas cheer while mastering the tools and techniques to achieve that perfect gradient. Plus, don’t forget some essential nail care tips to keep your manicure looking fresh all season long!
Color Combinations to Try
Looking to make your nails sparkle this Christmas season? You’re in for a treat with festive ombre nail art that pairs perfectly with holiday themes. One stunning color combination to try is deep red fading into a shimmering gold. This duo not only screams Christmas but also showcases gorgeous glitter patterns that catch the eye.
If you’re feeling adventurous, consider a gradient of emerald green shifting into icy silver. This chic pairing evokes images of frosty winter nights while keeping your look fresh and trendy. For a more playful touch, mix vibrant blues with a dazzling white glitter overlay to mimic a frosty snowfall—perfect for enhancing that holiday spirit.
Don’t shy away from classic combinations either; rich burgundy melting into a soft champagne hue can give you an elegant and sophisticated vibe, ideal for any festive gathering. No matter which colors you choose, blending shades will elevate your nail game and guarantee you shine bright at every holiday party. Feel free to experiment and let your creativity flow, because this Christmas, your nails should be just as dazzling as your holiday spirit!
Tools and Techniques Needed
To achieve that stunning festive ombre nail art, you’ll need a few essential tools and techniques to bring your vision to life. Start by gathering your nail art supplies, including a makeup sponge, nail polish in your chosen colors, and a good quality topcoat. You’ll also want to have a small brush or clean-up tool handy to refine your design and clean up any excess polish.
Begin by applying a base coat to protect your nails, then paint your desired base color. Once it’s dry, take your makeup sponge and apply a gradient of nail polish colors that evoke the spirit of Christmas—think vibrant reds, deep greens, and golds. Lightly dab the sponge onto your nails, blending the colors to create that beautiful ombre effect.
For added flair, learn some design techniques like using a glitter top coat over your ombre for a festive sparkle or adding tiny gems strategically around your cuticles. Finish off with a high-quality topcoat to lock everything in place and enhance the shine. With these tools and techniques, your festive ombre nails will be the perfect accessory for holiday celebrations.
Nail Care Tips
Nail care is essential to keep your festive ombre nail art looking fresh and fabulous throughout the holiday season. To guarantee your nails shine bright through all the Christmas parties and celebrations, start with proper nail moisturizing. Invest in a high-quality cuticle oil and apply it daily to nourish and strengthen your cuticles. This not only promotes healthy growth but also prevents those pesky hangnails that can ruin your look.
You should also exfoliate your hands and nails gently to remove any dead skin, allowing your ombre design to really pop. Use a soft scrub or make a DIY one with sugar and coconut oil for that extra glow. Remember to keep your nails hydrated by applying a nourishing hand cream regularly.
Before applying your festive ombre nail art, make sure your nails are clean and dry. After all, nothing says holiday cheer like a smooth canvas! Finally, seal your design with a glossy top coat for a dazzling finish and added protection.
With these nail care tips, you’re ready to show off your stunning ombre nails adorned with glitter and gold, turning heads wherever you go!
Snowflake Glitter Designs
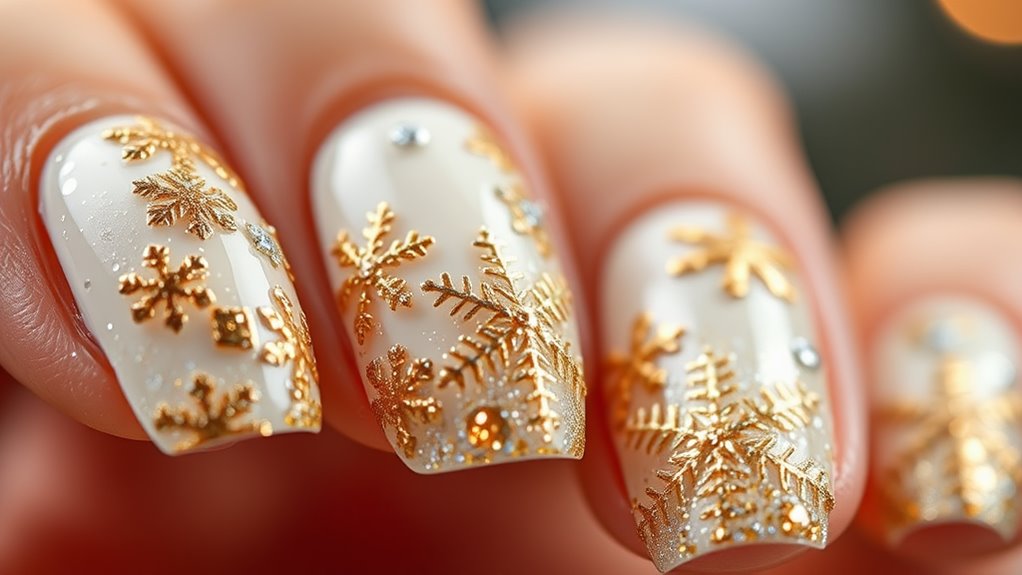
Get ready to sprinkle some holiday magic on your nails with elegant snowflake patterns that twinkle brighter than the winter sky. You can enhance your design with sparkling glitter accents that catch the light and elevate your festive look. Winter chic has never been this easy to achieve, so let your creativity shine!
Elegant Snowflake Patterns
Winter often sparks a desire for elegant nail designs that capture the magic of the season, and snowflake patterns perfectly embody this charm. Imagine your nails transformed into a winter wonderland where delicate snowflake shapes dance across a glossy canvas. Start with a soft, icy blue or pristine white base to serve as a serene backdrop for your enchanting designs.
To create your snowflake masterpiece, use a fine brush or nail art pen to sketch intricate snowflake shapes. You can mix different sizes and styles to give your design depth and character. Consider adding a touch of metallic silver or shimmering pearl accents for that extra wow factor. These hues not only enhance the elegance but also catch the light beautifully, giving the illusion of gently falling snow.
Feeling adventurous? Incorporate tiny gemstones or sequins to mimic sparkling frost. These elements will elevate your nail art, making each snowflake look like a glittering gem against a winter sky. Whether you’re heading to a holiday party or simply celebrating the season, elegant snowflake patterns will guarantee your nails shine in all their frosty glory!
Sparkling Glitter Accents
As the holiday spirit envelops you, why not add a touch of dazzling sparkle to your snowflake designs? Sparkling glitter accents can truly elevate your manicure, making it perfect for those festive gatherings. Start by choosing a base color that complements your winter theme, such as icy blue or frosty white. Once it’s dry, it’s time for some meticulous glitter placement.
Create stunning focal points by strategically applying glitter around your snowflakes. Opt for a fine glitter that mimics the shimmer of fresh snow. You can also layer in some chunky glitter for an added 3D effect, giving your nail art depth and dimension. To really bring the design home, incorporate gold layering by adding gold foil or metallic polish over or around your glittered snowflakes. This contrast will not only make your design pop but will align beautifully with the luxe vibes of the season.
Finally, seal your creation with a top coat to keep that sparkling brilliance intact. With these tips, your snowflake glitter designs will shimmer and shine, capturing the magic of Christmas at every angle. Happy decorating!
Geometric Gold Accents
Geometric gold accents can instantly elevate your Christmas nail designs, giving them a chic and modern twist. Perfect for those who love a fresh take on holiday glam, these accents play with geometric patterns that combine elegance and creativity. Imagine the festive spirit shining through unique designs that really stand out.
You can easily incorporate gold stripes, triangles, or even chevrons to create visually striking looks. Here are some tips to help you nail this trend:
- Mix and Match: Combine different geometric shapes for a layered effect. Think gold stripes alongside diamonds or triangles for that extra flair.
- Play with Background Colors: Use deep reds or vibrant greens as a base color to let your gold accents pop beautifully.
- Choose Quality Products: Invest in high-quality metallic nail polish or nail tape to get sharp, clean lines.
- Consider Negative Space: Leave some areas unpainted to accentuate the geometric patterns and keep the design fresh and modern.
Elegant Gold Foil Techniques
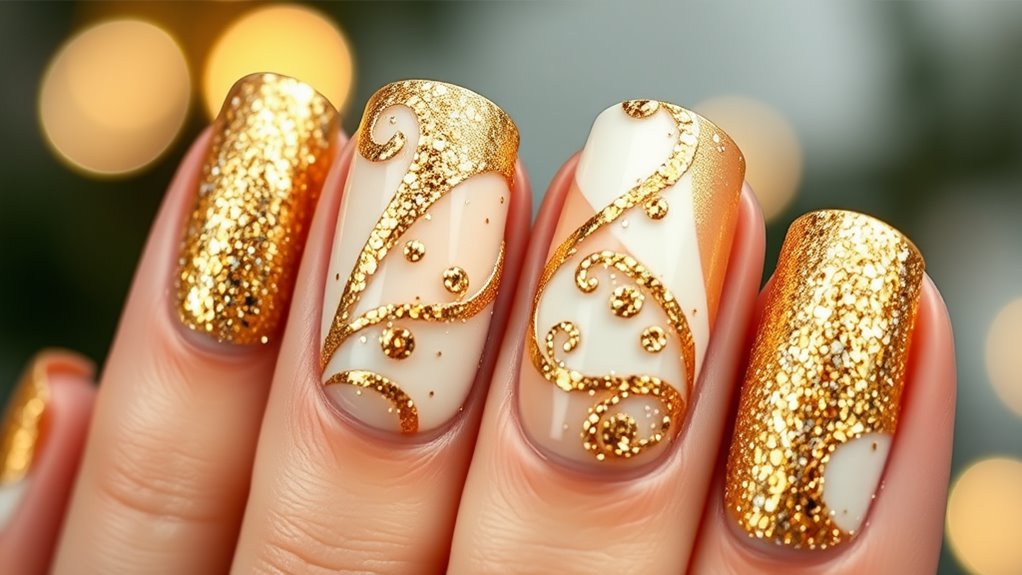
Gold foil techniques bring a touch of luxury to your Christmas nail designs, instantly transforming your manicure into a dazzling work of art. With their shimmering allure, gold foil application can elevate even the simplest of nail looks. It’s all about the way you apply them—smooth, delicate layers of gold foil can create a stunning contrast against classic holiday colors like deep red, emerald green, or icy blue.
To start, choose your base color; a classic nude or bold festive shade works beautifully. Once your base is dry, it’s time for the gold foil application. Tear small pieces of gold foil; irregular shapes look the most organic and chic. Using a tweezers or a small brush, apply a nail adhesive or top coat to the spots where you want the gold to shine. Gently press the foil onto the adhesive, allowing its beauty to adhere naturally.
You can experiment with various gold foil designs—think abstract shapes or elegant lines for a minimalist touch, or layer different sizes for a more opulent effect. To finish off, seal your design with a clear top coat to protect the foil and enhance its shine. Every time you glance at your hands, you’re reminded of the festive spirit, making these elegant gold foil techniques a must-try this holiday season.
Christmas Tree Nail Ideas
When it comes to sprucing up your holiday manicure, Christmas tree nail ideas are a festive favorite that never disappoints. These designs give you the perfect canvas to showcase your unique style while embracing the spirit of the season. From lush green trees to sparkling decorations, there’s no limit to how you can adorn your nails for Christmas.
To really stand out, consider experimenting with various elements that embody the joy of the holidays. For inspiration, here are some ideas to get your creative juices flowing:
- Classic Green Trees: Paint a tree shape on your accent nails, using a bold shade of green, and sprinkle tiny glitter for that fresh pine effect.
- Tree Ornaments: Add colorful dot designs to mimic tree ornaments, using festive holiday colors like red, gold, and silver to truly capture the season’s essence.
- Snowy Delight: Overlay your green tree with white tips and silver glitter for a snowy finish. Don’t forget to add a star at the top for a finishing touch that’ll shine bright!
- Glitter Gradients: Blend from deep green at the base to sparkly gold tips for an eye-catching gradient that captures the spirit of celebration.
With these Christmas tree nail ideas, you’ll not only reflect the beauty of the season but also leave a lasting impression wherever you go. So grab those polishes and start creating a holiday masterpiece on your nails!
Subtle Glitter Gradients
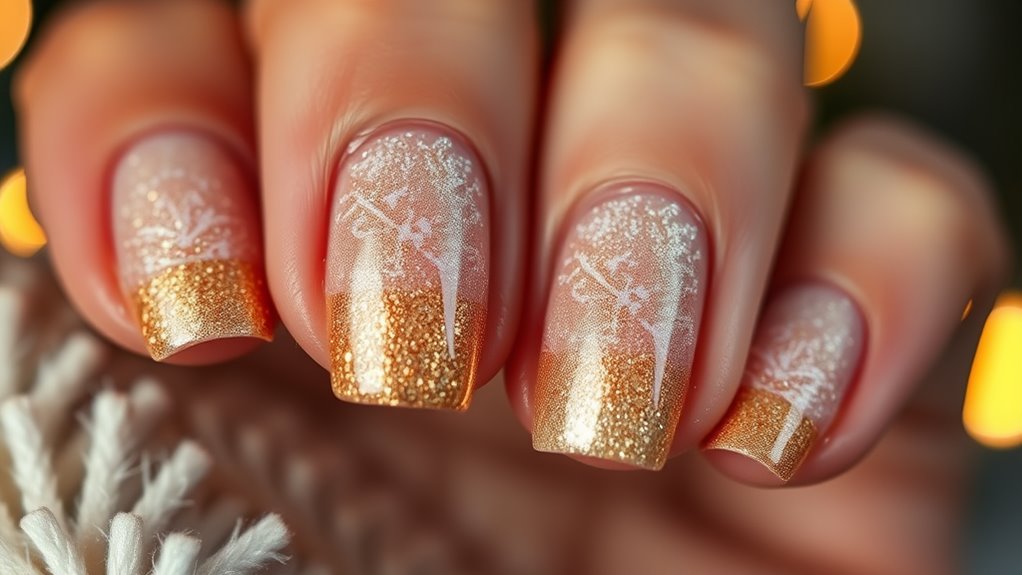
Subtle glitter gradients are a chic way to elevate your holiday nail game without overwhelming your look. By using various glitter placement techniques and gradient blending methods, you can achieve a delicate, festive style that’s perfect for any holiday gathering. Imagine a soft fade of shimmering gold dust that glimmers just right in the Christmas lights.
Here’s a quick breakdown of how to achieve the perfect subtle glitter gradient:
| Base Color | Glitter Type | Application Method |
|---|---|---|
| Soft Beige | Fine gold glitter | Sponge dab technique |
| Deep Red | Rose gold flakes | Brush-on method |
| Dark Green | Iridescent silver glitter | Ombre blending method |
First, apply your chosen base color and let it dry completely. Next, select a complementary glitter type that can add a touch of sparkle. For a fine, monochromatic look, use a sponge to dab the glitter onto the tips of your nails, gradually fading it downwards with gentle pressure. Alternatively, if you prefer a more generous application, use a thin brush to carefully bring the glitter onto your nails, creating an ombre effect.
These subtle gradients allow for personal expression while maintaining elegance. Whether you’re going for understated sophistication or a soft glam vibe, subtle glitter gradients can easily adapt to your style. Now, go ahead and let your nails shine through the festive season!
Sparkling French Manicure
For a touch of holiday glam that still feels refined, a sparkling French manicure is the perfect choice. This chic style blends the classic French tip with festive colors and glitzy details, making your nails a stunning feature this Christmas season. You can easily elevate the classic white tip by opting for metallic or glittery colors that capture the essence of the holidays.
Consider these fantastic ideas to spruce up your sparkling French manicure:
- Gold or Silver Tips: Instead of standard white, go for a luscious gold or shimmering silver fringe to add a touch of elegance.
- Festive Color Combinations: Feel free to experiment with reds, greens, or even deep blues to represent the season’s palette.
- Nail Shapes: Whether you prefer elegant almond, trendy stiletto, or classic square, each nail shape offers a beautiful canvas for your festive design.
- Accent Glitter: Add subtle glitter to the base of your tips or a small rhinestone near the cuticle for a delightful surprise.
With a sparkling French manicure, you can embrace the holiday spirit while maintaining sophistication. It’s all about balancing the timeless elegance of a French manicure with the cheerful glitz of the season. You’re sure to turn heads at every holiday gathering, making your nails a gorgeous focal point. Don’t forget to pair your look with your favorite holiday outfit, and you’ll be the shining star of every celebration!
Creative Nail Art Accessories
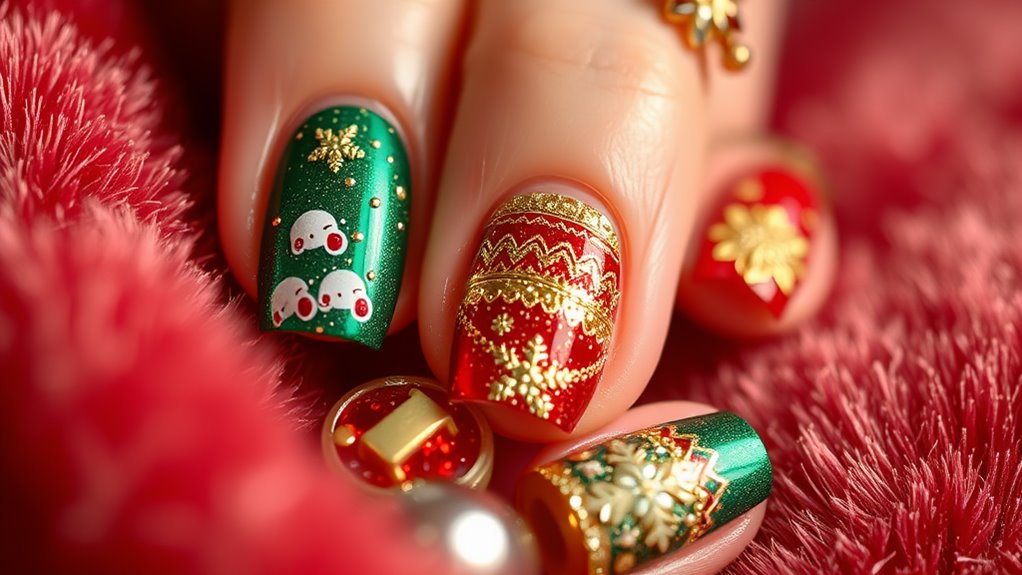
With the holiday season in full swing, incorporating creative nail art accessories can elevate your festive manicure to new heights. You’ll want your nails to radiate that holiday cheer, and with the right nail art supplies, you can transform a simple polish into a dazzling work of art.
Start by considering rhinestones and gems. Using them as accent pieces can add a dazzling effect, especially when placed strategically on a gold or glitter background. You can even create snowflakes or Christmas trees with tiny gems—just let your creativity run wild!
Next, think about nail stickers and decals. They come in various festive designs, from Santa hats to candy canes. These easy-to-use embellishments require minimal effort and can instantly give your nails a holiday makeover. Don’t forget to opt for metallic finishes since they pair beautifully with classic reds and greens.
For added dimension, try nail foils or metallic leaf. These creative embellishments not only give texture but also catch the light perfectly, making your nails pop.
Lastly, consider using shimmering glitter in your designs. You can sprinkle it over the top coat for a luxurious finish or mix it with polish for a glittery wash of color.
Frequently Asked Questions
What Tools Are Needed for Applying Glitter and Gold Nail Designs?
To apply stunning glitter and gold nail designs, you’ll need essential nail art tools like a brush, dotting tool, and adhesive. Master various glitter application techniques for a trendy, dazzling finish that turns heads!
How Do I Remove Glitter Nail Polish Without Damaging My Nails?
To remove glitter nail polish without damaging your nails, soak cotton pads in acetone and press them against your nails. Wrap with foil, let it sit, then gently wipe. This keeps your nail health intact!
Can I Mix Different Brands of Nail Polish for These Designs?
Imagine creating a stunning ombré look with brands you love; yes, you’ve got that flexibility! Just guarantee brand compatibility and pay attention to color coordination. Mixing different brands can yield fabulous, personalized designs. Enjoy experimenting!
How Long Do Glitter and Gold Nail Designs Typically Last?
Glitter longevity can vary, but with a good top coat, you’ll enjoy those sparkly nails for a week or more. Gold durability shines through, making your mani look fresh and fierce throughout the festivities.
Are There Any Allergic Reactions to Glitter Nail Products?
You might love the sparkle, but allergic reactions to glitter nail products can happen. If you experience itching, redness, or swelling, consider glitter alternatives like vegan polishes. Staying trendy shouldn’t come at the cost of your comfort!
Conclusion
As you immerse yourself in these dazzling glitter and gold nail designs, remember each manicure is like a shimmering holiday ornament, bringing joy and festivity to your season. Whether you opt for classic combinations or playful designs, your nails can become a delightful expression of Christmas magic. Embrace the sparkle, let your creativity flow, and adorn your fingertips with festive cheer. After all, your nails deserve to shine just as brightly as the twinkling lights on your tree!
