You can easily create beautiful nails at home with a few beginner-friendly ideas. Start with a solid color base to showcase your personality. Try a simple polka dot design using a dotting tool and contrasting hues for a playful touch. French tips can be jazzed up with vibrant colors, while striped nails add a fun geometric flair. Glitter accents can add sparkle, and painting cute flowers is a charming choice. Experimenting with these techniques will bring your nails to life, making every day feel special. Stick around—there are even more exciting ideas waiting to inspire your nail art journey!
Key Takeaways
- Start with solid color nail applications to showcase your personality using bold, calming, or vibrant hues.
- Experiment with simple polka dot designs using contrasting colors and dotting tools for an easy yet stylish look.
- Try a classic French tip, elevating the design with fun colors to make it more modern and playful.
- Utilize nail striping tape for clean lines, allowing you to create geometric patterns with ease.
- Practice designs on fake nails to build confidence before applying them to your own nails.
Essential Tools for Nail Art
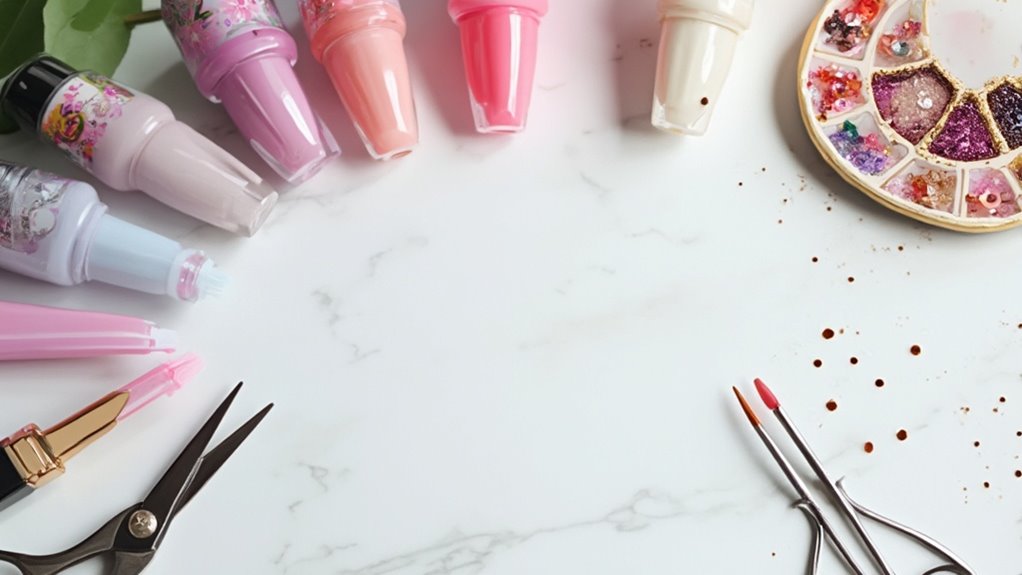
When you’re ready to plunge into the vibrant world of nail art, what tools do you actually need to release your creativity? First things first, grab an excellent selection of nail polish. Choose a variety of colors—think bold hues, sparkly glitter, and calming pastels. Each shade will allow you to play with different styles, so don’t be shy!
Next, you’ll need a nail care kit. Keeping your nails healthy should be a priority before you plunge in to artistry. This kit typically includes items like cuticle oil, a nail file, and a buffer. Regularly maintaining your nail health makes certain that your nail art looks stunning and lasts longer.
Don’t forget about nail brushes! A fine detail brush is essential for intricate designs, while a larger brush can help in creating smooth gradients or patterns. Dotting tools are also a game-changer; they allow you to create perfect polka dots or floral designs with ease.
Let’s not overlook the importance of a top coat. Choosing a good top coat can enhance your design and keep your nails chipping free for weeks. If you’re someone who loves experimenting, nail striping tape can help to create clean lines and geometric designs.
Lastly, keep a small bowl of warm water nearby to soak your nails before starting your masterpiece. This will make your nail care routine easier and more enjoyable. Now, with these essential tools, you’re all set to set out on your nail art adventure!
Simple Solid Color Technique
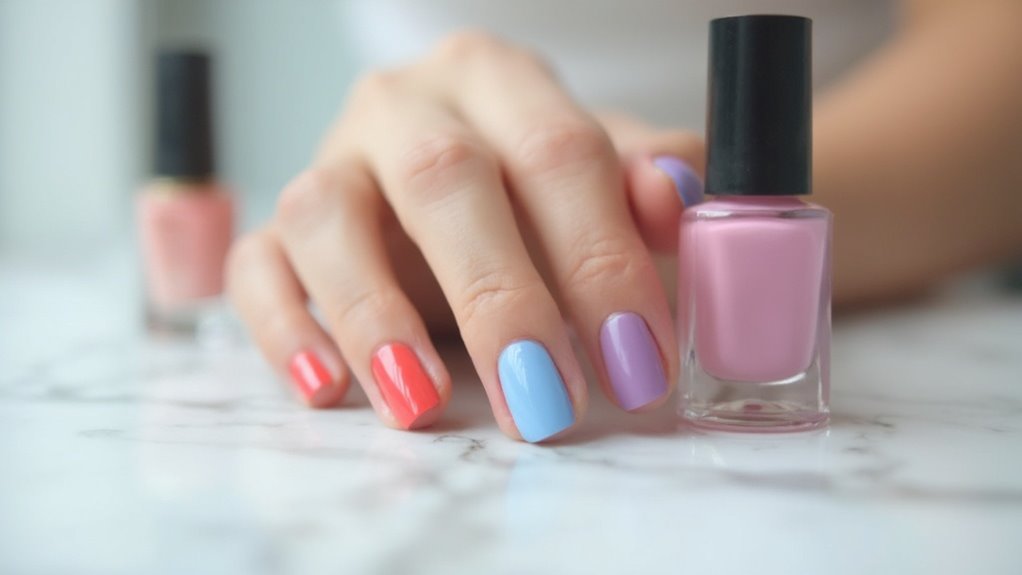
Embracing the simplicity of solid color nail application can be both invigorating and satisfying. It’s a fantastic way to showcase your personality while keeping things effortlessly chic. With a wide variety of nail polish available, you can easily tap into current color trends that elevate your look without much hassle.
To start, you’ll want to choose your favorite shade of nail polish. This could be a trendy pastel, a bold red, or even a classic nude—whatever resonates with you! Guarantee you’ve got your essential tools handy, like a base coat, a top coat, and a good-quality nail polish. A base coat protects your nails and helps the color adhere better, while a top coat adds that glossy finish and prolongs wear.
Once you’ve prepped your nails—cleaning them and gently buffing the surface—apply a thin layer of base coat. Let it dry completely. Now, it’s time to release your chosen nail polish! Apply the polish in even strokes, starting from the center of the nail and moving toward the sides. If you want an opaque look, don’t shy away from applying a second coat after the first one dries.
Finally, seal the deal with a top coat, guaranteeing you cover the edges for a polished finish. Voila! You’ve just mastered a stunning solid color technique that’s easy to achieve. Keep experimenting with colors to keep things fun and fresh, and don’t forget to stay tuned for the latest color trends to inspire your next manicure!
Basic Polka Dot Design
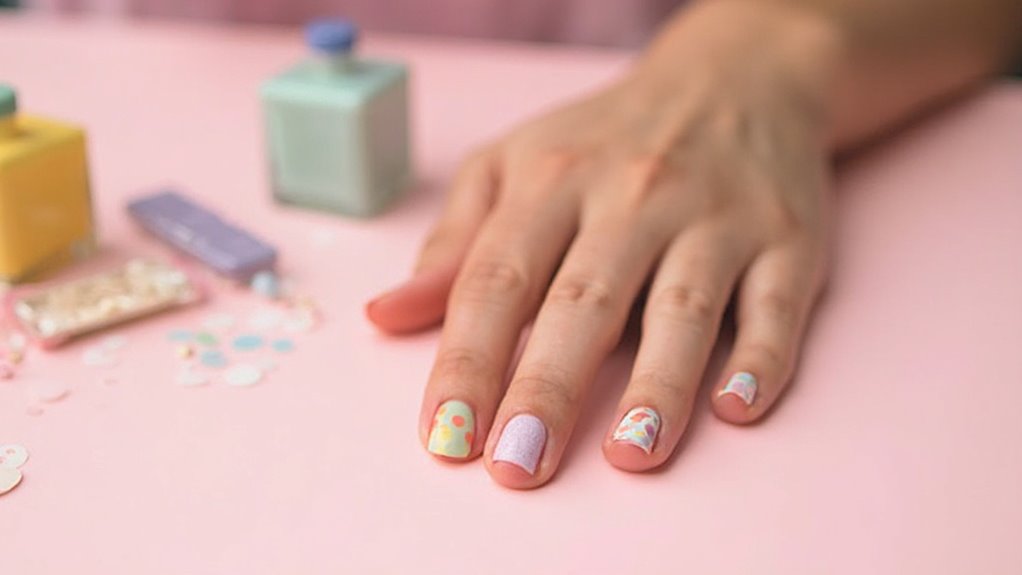
Get ready to bring a playful twist to your nails with a basic polka dot design! You’ll need just a few essential tools and some vibrant color combinations to get started, so let’s walk through the easy steps together. Before you know it, your fingertips will be a canvas of dots that radiate fun and creativity!
Essential Tools Needed
To create a stunning basic polka dot design on your nails, you’ll need a few essential tools that make the process smooth and enjoyable. With the right tools in hand, you can elevate your nail care routine while expressing your creativity. Here’s what you’ve got to gather:
- Nail Polish: Choose two contrasting colors; one for the base and another for the dots.
- Dotting Tools: These come in various sizes and help create perfect circles. You can also use a toothpick if you’re in a pinch!
- Base Coat: This protects your nails and helps your polish last longer.
- Top Coat: A must-have to seal in your design and add a glossy finish.
- Nail File: Keep your nails shapely and smooth to prevent snags during your nail art adventure.
With these essential tools, you’ll be well-equipped to bring your polka dot nails to life. Remember, nail care is just as important as the design. So, make sure to pamper your nails along the way to achieve a look that’s both beautiful and healthy!
Step-by-Step Process
Creating a basic polka dot design on your nails is as easy as 1-2-3! First, gather your essentials: two colors of nail polish—one for the base and another for the dots. Make sure you’ve also got a dotting tool or even a bobby pin handy. Apply a base coat to your nails to protect them and help your polish last longer. Once that’s dry, swipe on your chosen base color, and wait for it to dry completely.
Now for the fun part! Dip your dotting tool into the second nail polish color. Lightly touch the tool to your nail, creating dots of varying sizes. Don’t worry about perfection; the beauty of this design is its playful nature! You can scatter the dots randomly or create a pattern—it’s completely up to you.
Once you’ve dotted away to your heart’s content, seal your masterpiece with a top coat to enhance the shine and keep your design intact. Let your nails dry completely for ideal nail care, and you’ll be flaunting your cute, polka dot nails in no time! Enjoy your newfound nail art skills!
Color Combinations Tips
Now that you’ve mastered the art of polka dots, let’s explore the world of color combinations to elevate your nail design. The right colors can transform your basic polka dots into a stunning nail masterpiece. Here are some effective tips to help you mix and match like a pro!
- Pastel Shades: Soft pinks, mint greens, and lavender create a dreamy, whimsical vibe.
- Bold Accents: Use a vibrant color, like royal blue or fuchsia, paired with softer pastels for a striking contrast.
- Neutral Tones: Think beige, taupe, or light gray backgrounds—perfect for making pastel polka dots pop!
- Monochromatic Pairings: Select different shades of the same color family for a harmonious look.
- Metallic Touches: Add some gold or silver dots for an elegant twist on classic polka dots.
Experiment with these combinations to find your favorite! Remember, layering tones and varying dot sizes can also enhance your design, so don’t be afraid to get creative. Your freshly polished nails will look chic and fun, making a statement wherever you go. Happy painting!
French Tip Variation
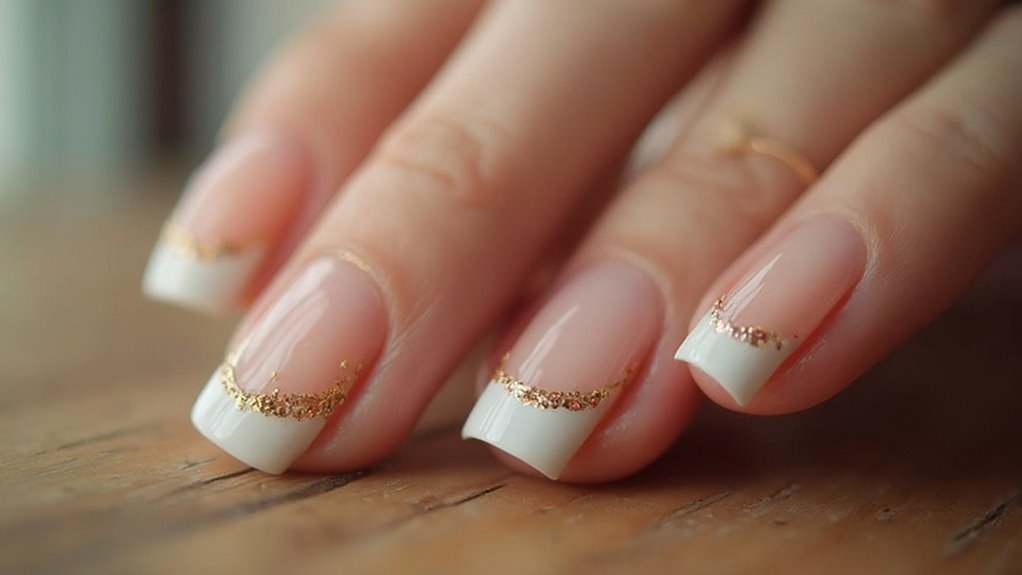
The classic French tip has long been a staple in nail art, but adding a personal twist can elevate this timeless look to new heights. Instead of just the usual white tips, consider experimenting with fun colors and interesting designs that reflect your personality. A pastel palette can create a soft, dreamy vibe, while bold shades bring a fierce touch.
To make your French manicure even easier and more creative, you can use nail stickers. These little game-changers come in various designs and can transform your tips from basic to stunning with minimal effort. For instance, shimmering gold or silver stickers can add a touch of glam, perfect for a night out. You can also find unique shapes like hearts or zigzags that can take your French tip to a whole new level.
Another variation is the inverted French tip. Instead of painting the tips white, apply a bright color at the base of your nails and keep the tips nude or transparent. This edgy take can ignite your nail routine with energy and freshness. You could also try a gradient effect, seamlessly blending two or three colors from the nail bed to the tips.
Easy Striped Nails
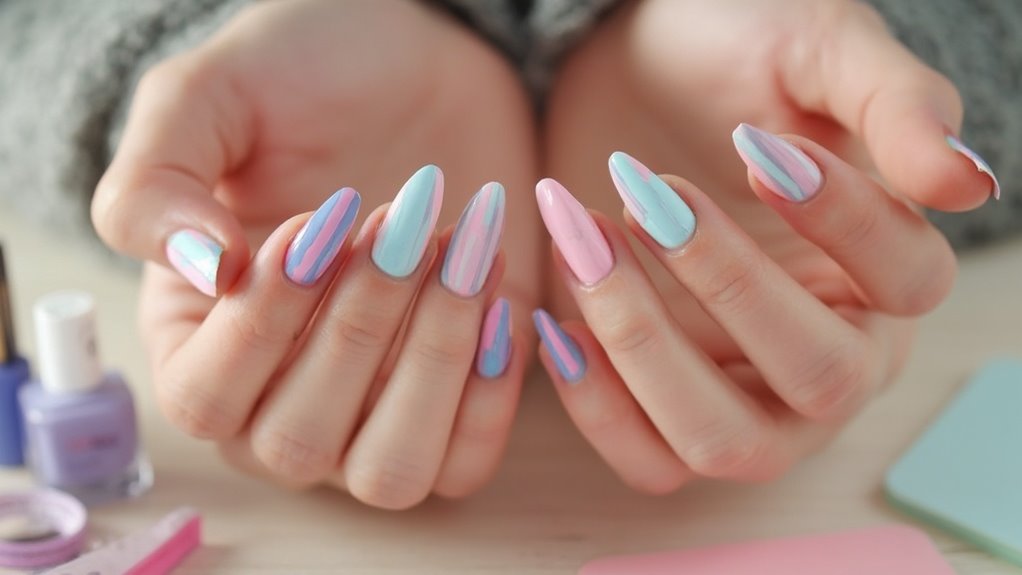
Ready to add some pizzazz to your nails? Let’s gather a few essential tools and explore simple striping techniques that’ll transform your manicure from basic to bold in no time. Whether you’re a nail art novice or a seasoned pro, these tips will keep your style chic and effortlessly fun!
Essential Tools Needed
Creating easy striped nails at home can be a fun and rewarding experience, but having the right tools on hand makes all the difference. To achieve those beautiful stripes while prioritizing nail health and care, gather these essential items:
- Striping Tape: This helps you create crisp lines and is a game-changer for beginners.
- Nail Brush: A thin nail brush is perfect for painting fine lines with precision.
- Dotting Tool: This versatile tool isn’t just for dots; it can help in creating unique patterns and details.
- Top Coat: Sealing your design with a top coat not only enhances shine but also protects your nails.
- Nail Polish Remover: Mistakes happen, so having some remover handy guarantees you can start fresh without stress.
With these tools in your arsenal, you’ll set the stage for stunning striped nails. Taking care of your nails is vital; routine maintenance will keep them healthy and ready to showcase your creativity. So, get your tools ready, and prepare to plunge into the exciting world of DIY nail designs! Happy crafting!
Simple Striping Techniques
How can you turn a basic nail polish application into a vibrant work of art? With simple striping techniques, you can elevate your nail game in no time. First, choose your favorite nail polish colors—bold shades work wonders when creating striking patterns. Start by painting a base coat in a solid color and allow it to dry completely.
Once your base is ready, grab a striping brush or even a thin paintbrush. Dip it into your desired nail polish and carefully draw straight lines, being mindful of even spacing. You can create horizontal, vertical, or diagonal stripes depending on your mood. Need some inspiration? Consider alternating colors for a fun, dynamic look or creating an “ombre” effect by blending two shades together.
For a flawless finish, apply a top coat once you’re satisfied with your design. This not only enhances the colors but also provides extra shine and durability—essential for nail care. With practice, these simple techniques will transform your nails into masterpieces, ensuring you stand out. So grab those polishes and let your creativity flow!
Glitter Accent Nails
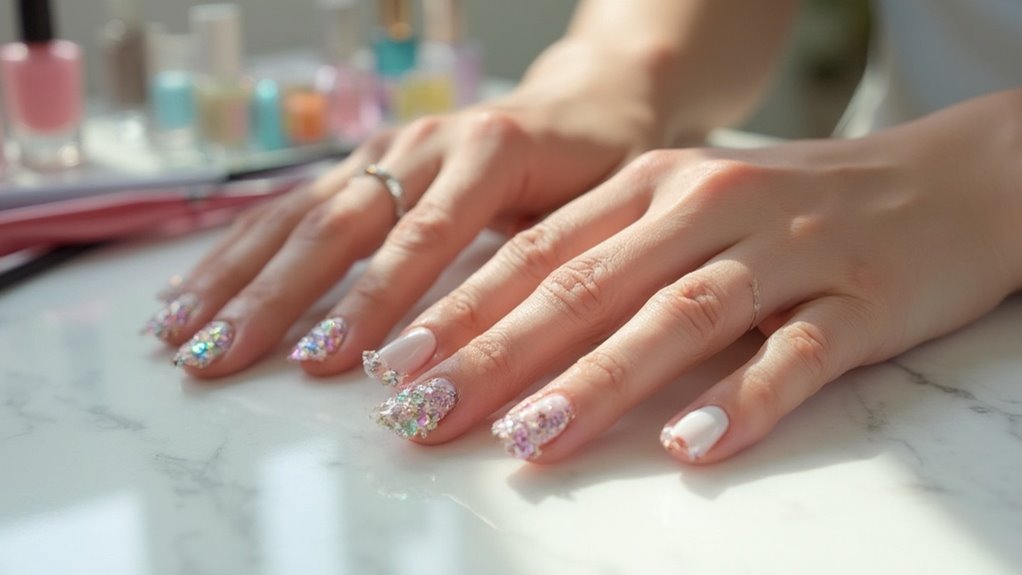
A touch of sparkle can elevate your nail game to a whole new level, and glitter accent nails are the perfect way to achieve that dazzling look. Whether you’re prepping for a summer party or getting festive for winter trends, glitter accents can transform any manicure into something special.
To help you create these stunning designs, here’s what you’ll need:
- A base color of your choice
- Fine glitter or glitter polish
- A clear top coat
- Nail tape or stickers (optional)
- A small brush or sponge for application
Start by applying your base color to all your nails. Once you’ve allowed it to dry, pick a couple of accent nails where you want to add the sparkle. You can either opt for full glitter coverage or just a subtle sprinkle, depending on your style. If you’re feeling adventurous, use nail tape to create geometric shapes and fill them in with glitter.
For a summer look, vibrant colors paired with gold or silver glitter create a fun, beach-ready vibe. In contrast, deeper hues with a shimmer are perfect for winter trends, giving a luxurious feel to chilly evenings. Finish with a clear top coat to seal everything in and add shine.
With just a few simple steps, you can achieve beautiful glitter accent nails that make a statement, no matter the season!
Flower Nail Art
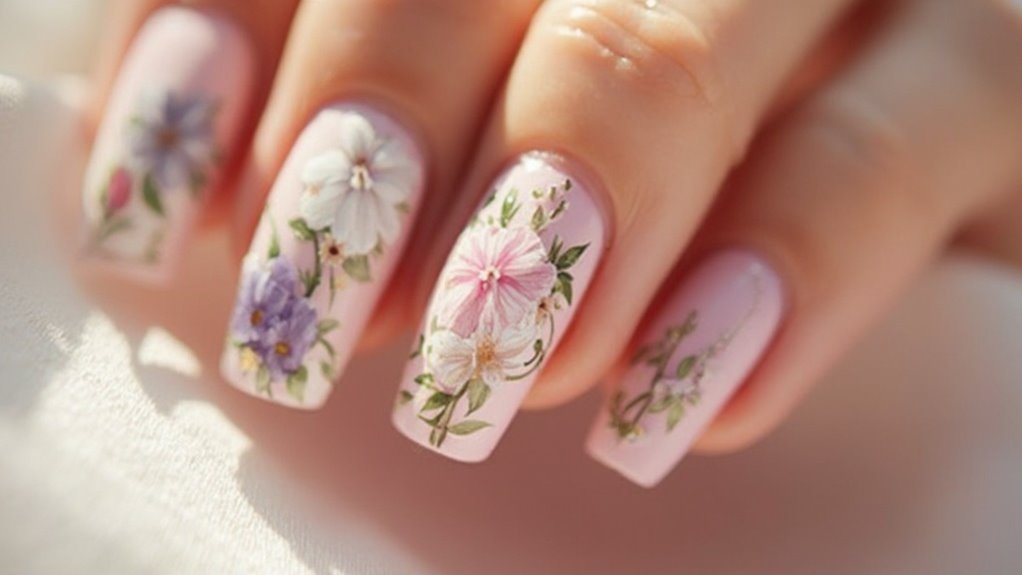
After adding some sparkle with glitter accent nails, it’s time to bring some botanical beauty to your fingertips with flower nail art. This trendy design not only adds a dash of elegance but also captures the vibrant essence of summer flowers, making it perfect for any occasion.
To kickstart your flower nail art journey, you don’t need to be a professional. You can easily achieve stunning looks using nail stickers featuring lovely floral designs. Start with a base coat to protect your nails and choose a fun, bright color that represents summer, like coral, turquoise, or sunny yellow.
Once your base polish is dry, carefully select flower nail stickers that resonate with your aesthetic. Position them on your nails, pressing gently to secure them in place. For an extra touch of dimension, consider layering smaller stickers on top of larger ones, creating a beautiful bouquet effect.
If you’d like to take it a step further, you can also paint a few flowers by hand. Grab a thin nail brush and your favorite colors to create playful petals and delicate leaves. Don’t forget to add a top coat to seal your design – this will enhance shine and keep your art looking fresh for longer!
In just a few simple steps, you’ll transform your basic manicure into a floral masterpiece. So, let your creativity bloom this season, and enjoy showcasing your gorgeous flower nail art!
Marble Effect Technique
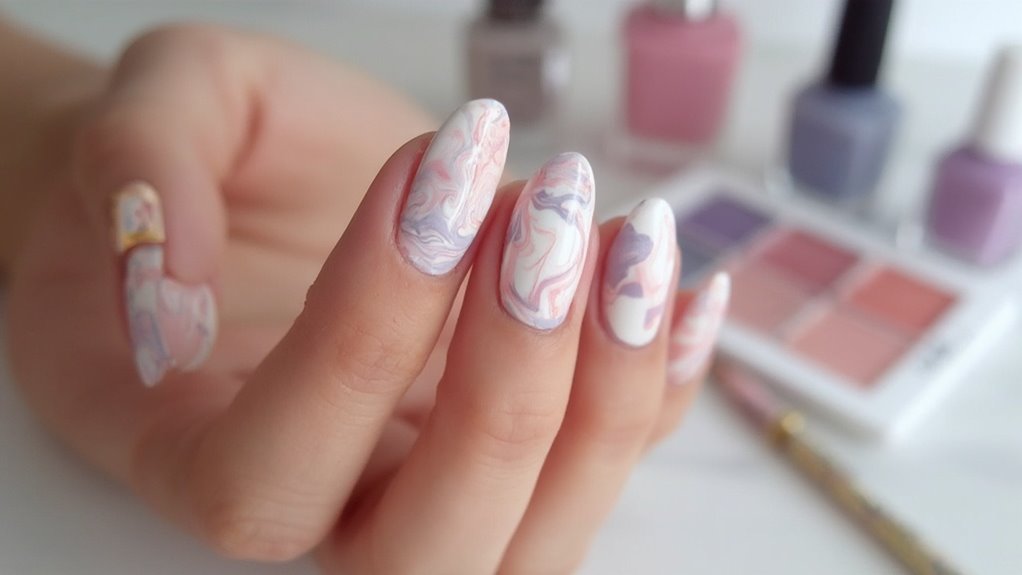
With the marble effect technique, you can effortlessly elevate your manicure to a stunning work of art. This trendy style mimics the beautiful swirls and patterns of marble, making it a perfect choice for anyone looking to impress with their nail game. The best part? You don’t need to be a professional to achieve gorgeous marble nails at home!
To get started, you’ll need:
- A base coat of nail polish
- 2-3 contrasting nail polish colors
- A small cup of water
- A toothpick or a nail art brush
- Topcoat for a glossy finish
Here’s how to create those mesmerizing marble nails: First, apply your base coat to protect your nails and let it dry. Next, drop your nail polish colors onto the surface of the water, allowing them to spread. When you see the colors form gorgeous swirls, use the toothpick to create patterns you like.
Once you’re satisfied, dip your nail into the design, ensuring an even coat. You might want to use tape around your nail to catch any excess polish. Lift your nail, and voilà! Clean up around your cuticles with a cotton swab dipped in polish remover. Finish off with a topcoat to seal it all in and add an extra shine.
After some practice, you’ll be rocking fabulous marble nails that’ll surely catch everyone’s eye. So, grab your favorite nail polish colors and start creating!
Season-Inspired Nail Ideas
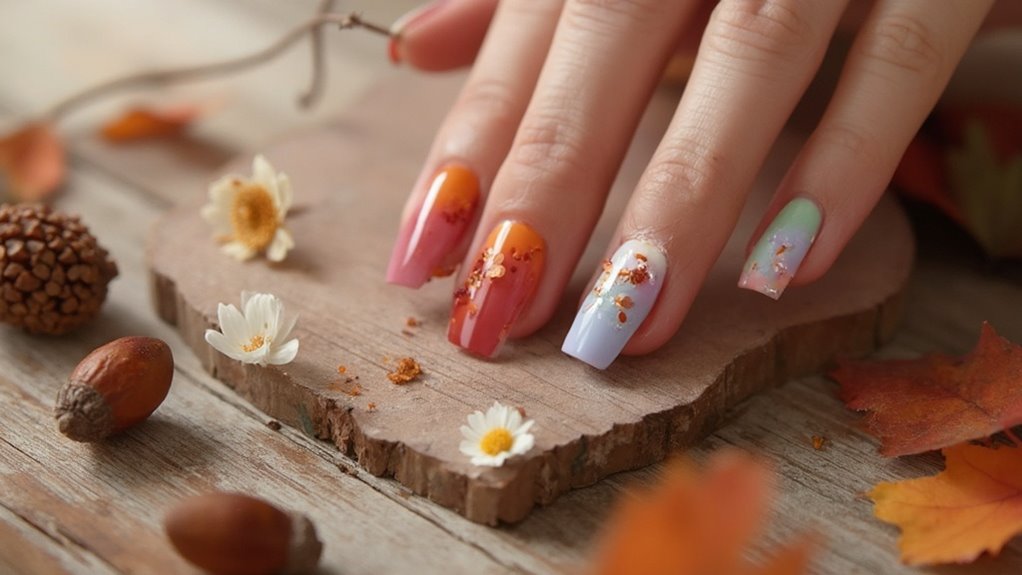
As the seasons change, so does your nail art inspiration! Each time you turn, vibrant colors and themes emerge that reflect the beauty around you. Let’s plunge into some easy, season-inspired nail ideas that’ll keep your manicure game strong and on-trend.
For summer, think bright and bold! Create summer nails with a tropical vibe by opting for colors like coral, turquoise, or sunny yellow. You can use these shades to paint palm trees, or for a simpler touch, try using nail decals featuring flamingos or pineapples. A simple ombre effect blending these warm tones can also evoke that summer feel without the fuss.
As autumn rolls in, you’ll want to channel the breathtaking shades of fall. Autumn leaves are your best muse! Consider deep reds, oranges, and browns for a classic palette. You could create a stunning design by painting alternating nails with various fall shades and adding delicate leaf patterns over them. Stick on some metallic gold or copper foils to resemble the glimmer of sunlit leaves, and you’ve got a rich autumn look that’s sure to turn heads.
It’s all about reflecting the beauty of each season through your nails. So go ahead, release your creativity, and embrace these seasonal transformations in your nail art! You’ll not only look fabulous, but you’ll also feel connected to the changing environment around you. Happy painting!
Frequently Asked Questions
How Can I Protect My Nails Before Applying Polish?
To protect your nails before applying polish, start by buffing their surface to smooth any ridges. Then, apply a nail strengthening base coat. This helps prevent chipping and keeps your nails healthier in the long run.
What Type of Base Coat Should I Use?
To enhance your manicure, consider using a nail primer for smooth application or a nail strengthener for added protection. Choosing the right base coat guarantees your polish lasts longer and keeps your nails healthy and resilient.
How Long Should I Let My Nails Dry?
You should let your nails dry for at least 5 to 10 minutes for a solid polish finish. For best results, avoid touching anything until they’re completely dry; that way, your nail drying results shine!
How Do I Remove Nail Polish Without Damaging My Nails?
Removing nail polish is like peeling off delicate fruit skin; you need care. Use a gentle nail polish remover, and follow nail care tips like moisturizing afterward to keep your nails strong and healthy.
Can I Use Regular Paint for Nail Art?
You can’t use regular paint for nail art; it can damage your nails. Nail polish is specifically designed for that purpose. For unique designs, consider paint alternatives like nail gel or specialized nail art paints instead.
Conclusion
You’ve now discovered the magical world of DIY nail art, where your fingertips can shine brighter than a thousand disco balls! With just a few tools and these easy techniques, your nails can transform into breathtaking masterpieces that leave everyone speechless. From sparkly glitter accents to dreamy marble effects, the options are limitless! So grab your polish and rock those amazing nails—who knew creativity could be so much fun? Get ready to strut your stuff; the world’s your runway!


